Using Raspberry Pi GPIO Via Command Line or C libraries
As well as the rasp-gpio debug utility there also a complete set of code libraries available allowing complete control over the GPIO in the form of the WiringPi project.
Here's the link to the web site for WiringPi
The standard MyPi image comes with this pre-installed and ready to go, the gpio executable command line program installs into /usr/local/bin and the source code has been stored in /opt/wiringPi
The gpio utility is very useful as it is configured with the SUID bit set allowing any non-root user to access and control the GPIO lines within bash scripts etc.
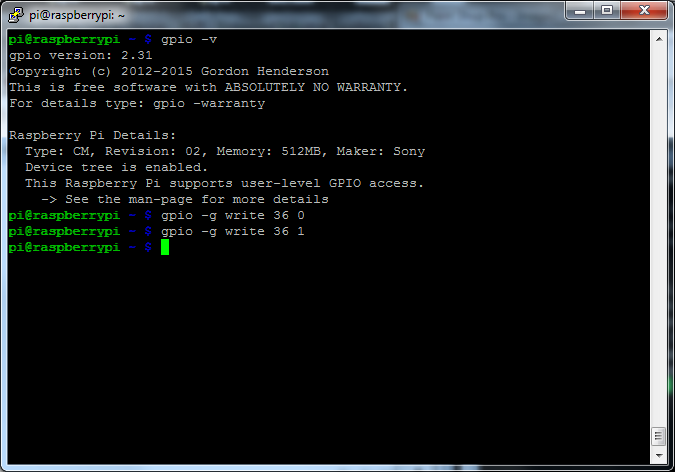
Whilst the website covers the usage in greater detail here's a quick run through of the gpio utility in action

In the above example we're turning the green status LED on and off - note how the gpio utility ignores the 'active high/low' setting that was defined for the pin during boot so the LED only lights up when we send a 0 rather than a 1.
The -g option is important as this tells the gpio program to use the actual gpio line numbers and not the Raspberry Pi plug references.
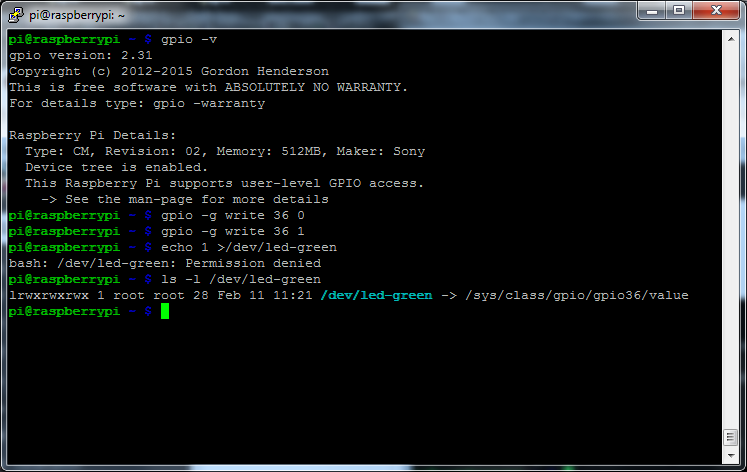
As you can see in the screenshot we're running as a normal user here, so if we try and use the /sys/class/gpio/ references setup during boot we'll run into problems as these exports have been created as root user.

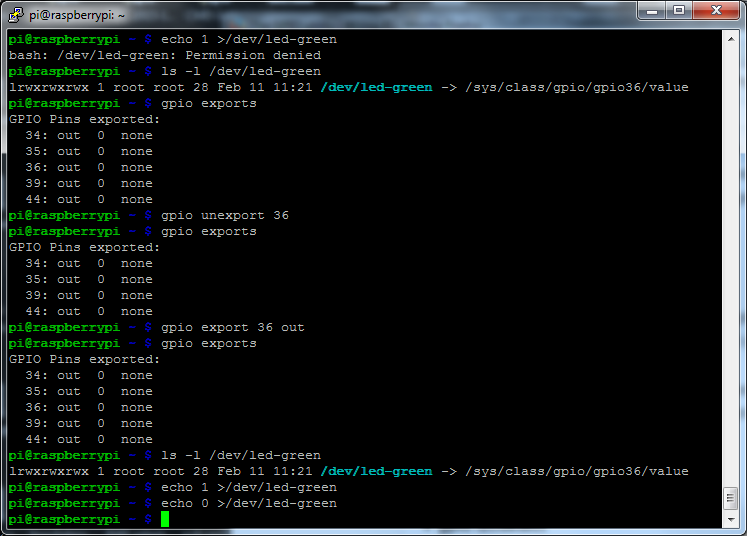
The gpio program can help solve this problem as it can also be used to create exports in /sys/class/gpio in such a way as to allow non-root users to access them.
Let's remove the current green led export and re-add it using the gpio utility

You can see that in the example above whilst the program can create user accessible /sys/class/gpio exports it lacks the ability to define the active state, so the echo 0 in the above switches the LED on.
GPIO and ALT function pin definitions